No Products in the Cart
How To Make a Tetrahedral Kite With Your Troop
|
Time to read 2 min
Never Struggle Planning Activities Again
Easy to use activity booklets for your troop meeting.|
Time to read 2 min
I get commissions for purchases made through links on this post.
Discover how to make a 3D kite, also known as a tetrahedral kite. This fun and engaging craft is perfect for girls to enjoy both the creation process and the excitement of flying it outdoors.
Did you know? The tetrahedral kite was invented by Alexander Graham Bell. His experiments, conducted between 1895 and 1910, aimed to build a scalable kite large enough to carry a man and a motor.
You can learn how to make the tetrahedral kite through directions, pictures, and a short video at the end of the post. Let’s get started!
Step #1:
Step #2:
Step #3:
Step #4:
Step #5:
Step #7:
Step #8:
Step #9:
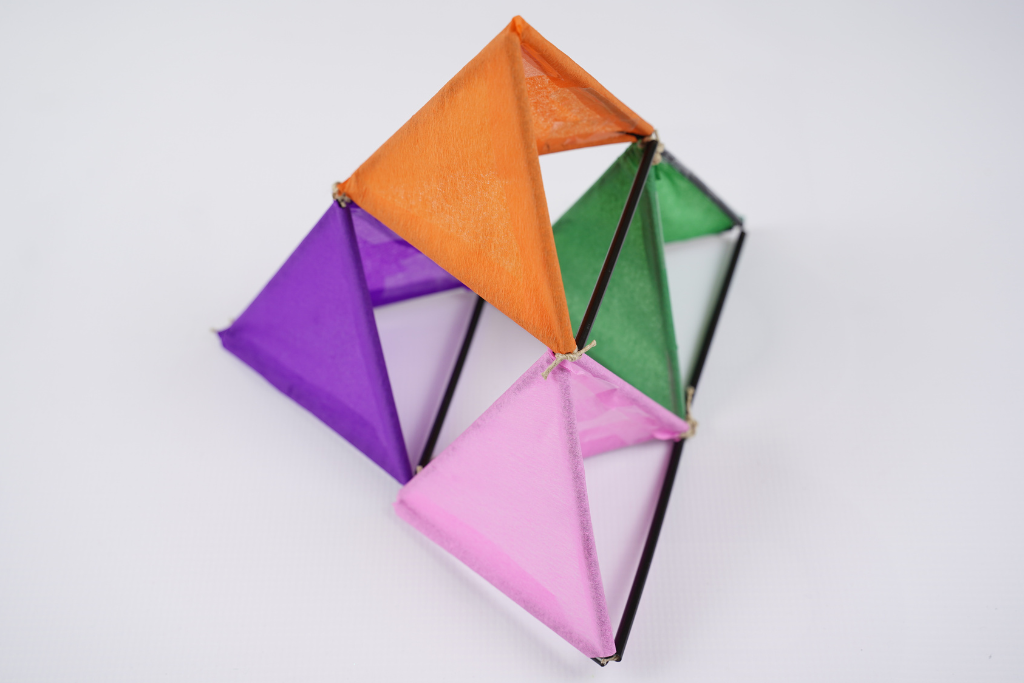
Arrange three pyramids at the bottom, with the fourth on top. Imagine them forming a larger pyramid. Use thread to securely tie the connecting edges of all the pyramids together. This will create the final, whole tetrahedral kite structure.
Now for the fun part! Tie a long piece of thread to the top of the tetrahedral kite. Find a nice, open space with a good breeze, and get ready to see your creation soar!
Happy kite-makingprepare and flying!
In addition to the written instructions, be sure to check out the helpful video tutorial that accompanies this blog post. The video will show you each step in action, making the building process even smoother!
While making a tetrahedral kite is a fantastic project, we have plenty of other engaging craft ideas to keep your troop busy and creative. Here are a few more fun and educational activities to try out:
Enjoy every minute being a leader and continue to inspire your girls!


