No Products in the Cart

How To Make a Simple Tie Dye Shirt With Your Troop
|
Time to read 3 min
|
Time to read 3 min
I get commissions for purchases made through links on this post.
Creating your own tie-dye shirt is a fantastic craft that lets you wear your creativity. In this tutorial, we'll show you how to make a vibrant tie-dye shirt using just one color, but feel free to let your imagination run wild and experiment with all kinds of colors! You’ll learn step-by-step through directions and pictures, and there's a short video at the end to guide you through the process. Let’s dive in and get started!
This ultimate guide offers step-by-step instructions for over 20 stunning patterns, from classic spirals to intricate mandalas. Whether you're a beginner or been tie dye for long time, you'll find easy-to-follow tutorials, tips for using different colors, and ideas for creating unique designs. Perfect for anyone looking to add a splash of color to their wardrobe or plan a fun troop activity. Get ready to transform ordinary fabrics into extraordinary works of art!
Plastic spoon and small plate or Plastic squeeze bottles
Step #1
Prepare Your Workspace: Cover your workspace with plastic table covers or garbage bags to protect it from any spills. Ensure that everyone is wearing old clothes or aprons, as dye can stain fabric permanently.
There are many methods to tie-dye, but here’s a simple one to get you started. Lay the shirt flat on a surface. Start twisting the fabric from the center until the entire shirt is twisted into a round shape.
Other Techniques to try:
Step #2
After swirling you have it in complete circle it should like this picture.
Step #3
Now it’s time to secure the shirt to maintain its shape while you apply the dye. Use a few rubber bands.
Step #4
Dampen the t-shirts with water. This helps the dye to soak in better and creates more vibrant colors. You can also do this first before you swirl it.
Step #5
I chose blue for my shirt, but feel free to use any color you like. The amount of water needed will depend on the dye color you choose. Be sure to follow the preparation instructions on the back of the dye package.
Once your dye is ready, you can begin coloring the shirt. I used a small plastic dish and a spoon to apply the dye, but to minimize mess, you can also use a small plastic squeeze bottle.
Step #6
I chose to apply dye to one section between two rubber bands, skipping the next section, as shown in the pictures. You can also color each section between the rubber bands in different colors, or use two colors alternately.
Step #7
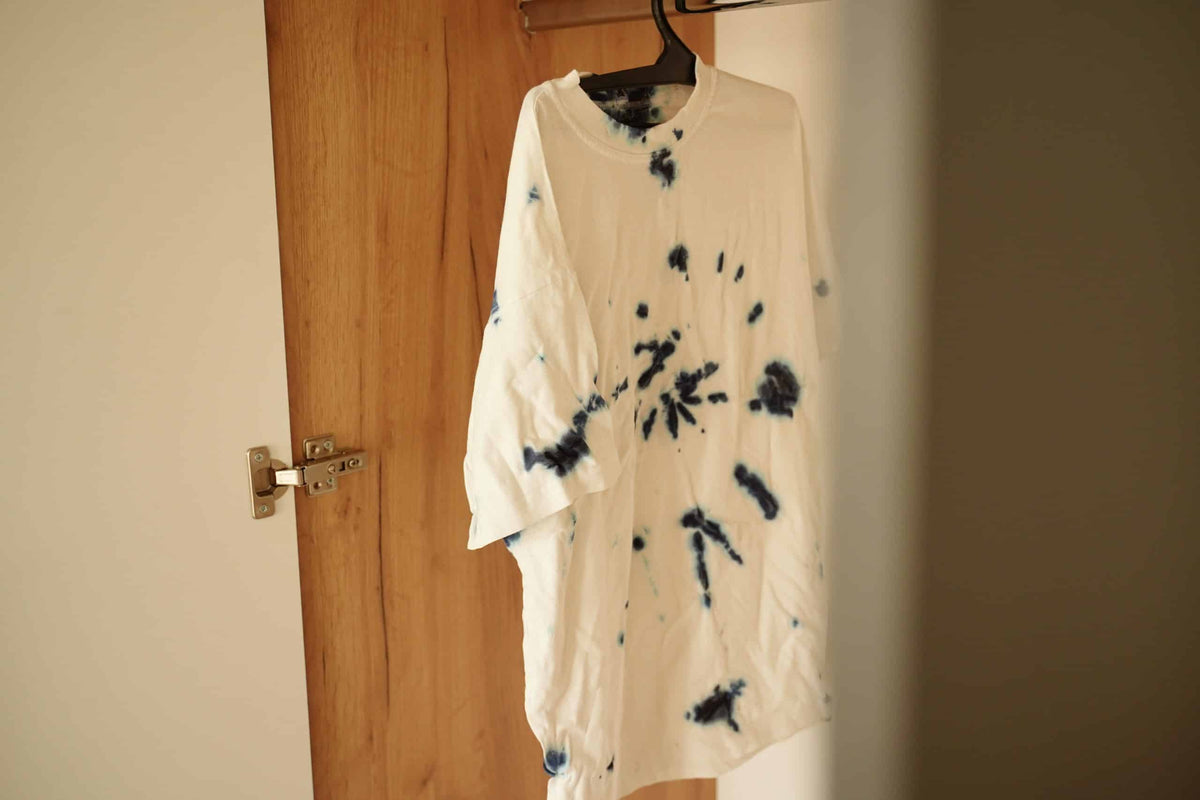
After applying the dye, let the shirt dry completely before removing the rubber bands. Once dry, open the shirt to reveal the final result.
Before wearing your t-shirt, be sure to wash it to remove any excess dye. There are many techniques to create various patterns on your t-shirts—experiment with different ways of tying the fabric. Be creative and personalize your clothing!
For a visual guide on making your tie-dye shirts, check out the short video below. It covers all the steps and offers additional tips to ensure your project is a success.
For a visual guide on making your tie-dye shirts, check out the short video below. It covers all the steps and offers additional tips to ensure your project is a success.
While making a tie dye shirt is a fantastic project, we have plenty of other engaging craft ideas to keep your troop busy and creative. Here are a few more fun and educational activities to try out:
Enjoy every minute being a leader and continue to inspire your girls!


