No Products in the Cart

How to Make a Beautiful Salt Art Flower
|
Time to read 2 min
|
Time to read 2 min
Learn how to make a salt art flower using salt. Yes I did say salt! This is a pretty cool craft to do with your girls using a different type of material to make a piece of art. You can learn through directions and pictures and a short video at end of post showing how to do it. Let’s get started!
Before we get started, make sure you have all the supplies you need:
Sheet of cardboard: This will serve as the base for your salt art. You can easily find it on Amazon.
Brush: To apply the watercolors and create beautiful patterns.
Paint Colors: Watercolors work best for this project, as they blend well with salt.
Pencil: For sketching your design.
Hot glue gun: Essential for creating the textured lines with glue. Available on Amazon.
Salt: The star of the show, creating a textured surface for your artwork.
Step #1
Draw Your Shape: Start by drawing a simple shape on your paper. We’ve chosen a flower for this project, but you can use any shape you like. If drawing isn’t your strength, you can print out a template and use that instead.
Step #2
Apply Glue: Trace over your drawing with hot glue.
Step #3
Apply Salt: While the glue is still wet, pour a generous amount of salt over it. The salt will adhere to the glue, creating a raised, textured effect. Be patient and make sure the salt is well-coated with glue.
Step #4
Remove Extra Salt: Shake off any excess salt once you put it over the glue.
Step #5
Painting Salt: Once the glue and salt have dried, it's time to add color. Use watercolors and a brush with plenty of water. Gently apply dots of color, allowing the water to spread and create beautiful patterns over the salt. The watercolors will blend and interact with the salt, making each flower uniquely vibrant.
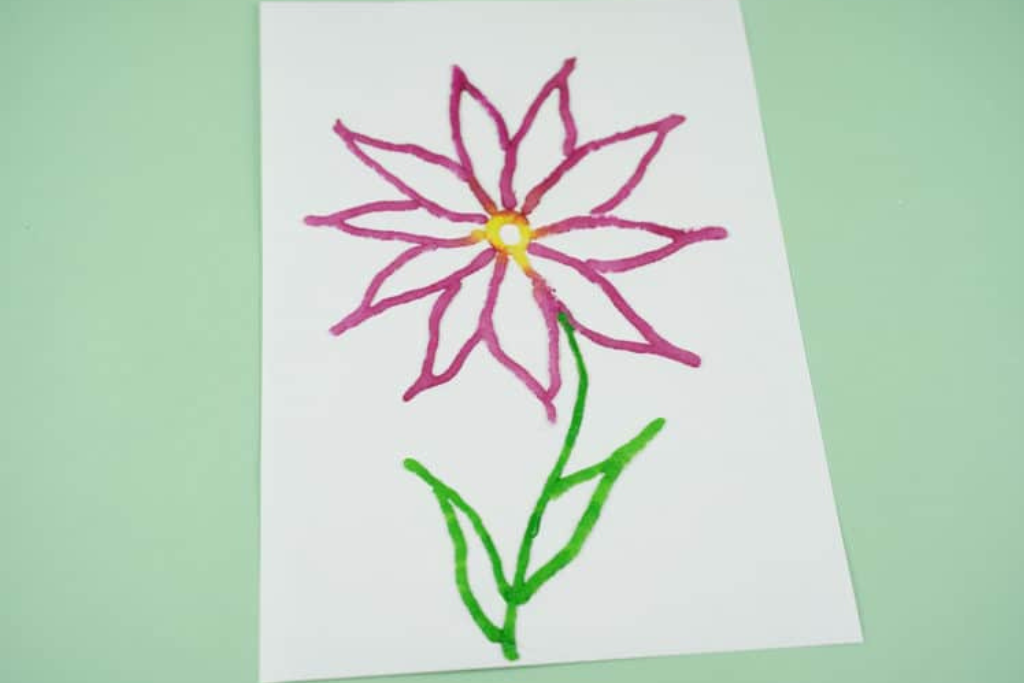
Completed Salt Art Flower
After painting, let your artwork dry completely. The finished salt art flower will have a beautiful, textured appearance with vibrant colors that interact uniquely with the salt. This craft not only creates a stunning piece of art but also offers a fantastic learning experience about textures and colors.
Creating a salt art flower is a fun and imaginative way to spend time with kids. This project not only results in a beautiful piece of art but also introduces children to new materials and artistic techniques. The combination of glue, salt, and watercolors creates a unique texture and vibrant colors that are sure to impress.
Enjoy every minute of being a leader, and continue to inspire your girls!


