No Products in the Cart
DIY Easter Craft: Puffy Paint Easter Eggs
|
Time to read 3 min
Never Struggle Planning Activities Again
Easy to use activity booklets for your troop meeting.|
Time to read 3 min
There are so many amazing crafts out there to celebrate Easter, and it can be hard to choose just one! Today, I wanted to add a fun Easter twist to Made to Be a Momma’s DIY puffy paint to create a craft your troop has probably never done before.
You might have used neon or glitter puffy craft paint before for various crafts, like summer camp T-shirts or 3D paintings, which can be so much fun! However, when you make it yourself, puffy paint is more likely to come out pastel, and pastels always say spring, especially Easter, to me. This is one of those craft ideas that translates well to any season!
You do not need any unusual or difficult-to-obtain materials to create different paint than the ones you’ll find at the store. All you need for this puffy paint recipe is shaving cream (preferably unscented, unless you want man-scented crafts), glue, and food coloring. You can use any size of plastic cups, although their website recommends 9 oz plastic craft cups. You’ll also need something to stir with, as well as paintbrushes.
Once you make the paint, you can use it in any way you see fit in celebration of Easter! I would recommend finding free Easter-themed coloring pages, containing graphics like Easter eggs, bunnies, or flowers. This fun activity would be the easiest option for kids of all ages. You can also use the puffy paint as fabric paint on things like t-shirts, make custom plastic Easter eggs, or perfectly unique hard-boiled eggs worthy of showing off!
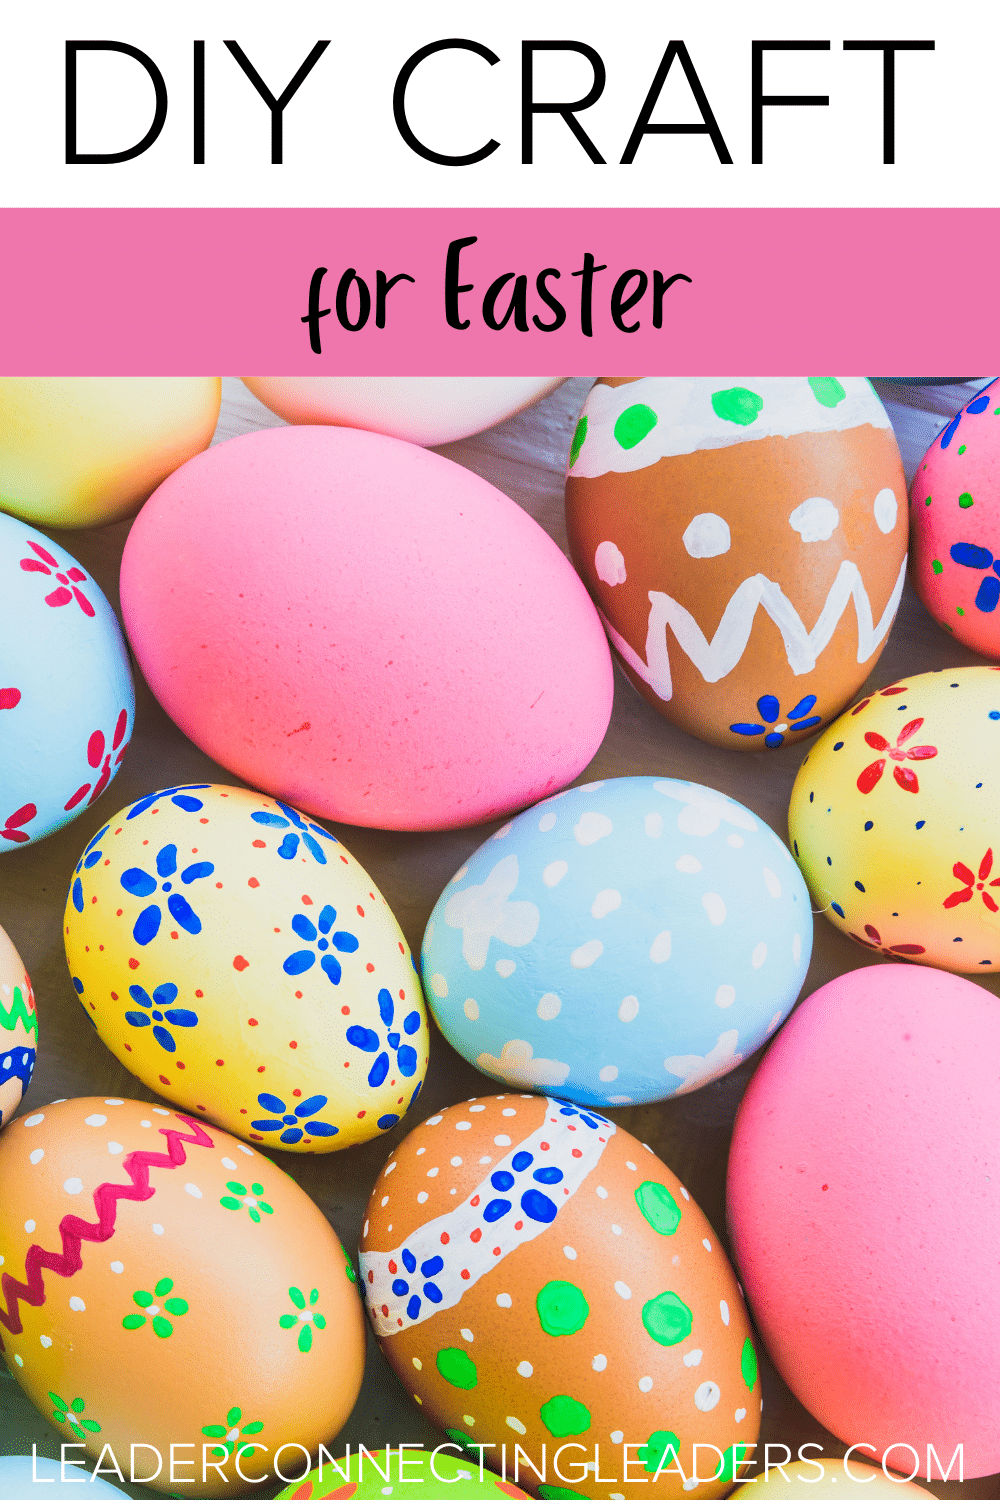
My personal favorite idea is to get craft rocks and paint them with 3D paint to look like Easter egg dye! This is definitely a better fit for older Girl Scout troop members. You can draw squiggly lines or polka dots on the rocks first with a Sharpie or other permanent marker, then paint the rocks to look like Easter eggs. This easy Easter craft is perfectly adjustable to be engaging for any group of older kids. Make sure to give the finished eggs plenty of time to dry!
If your girls are interested in art, you can turn this activity into a lesson about the color wheel! Teach your girls how color mixing impacts the paint, and let them experiment. I recommend teaching them a few of these tips:
If you want to make this easy craft into a full lesson, you can find a copy of the color wheel online and teach it to your girls, and you can even have them color in their own copies. Don’t assume that your girls will already know all of these tips, even if they’re older. A lot of people don’t know color theory, even into their adulthood!
One cute idea is to add fun elements like a little pinch of glitter, pom poms, tissue paper, or some googly eyes, or use fun materials to paint with, like sponges, bubble wrap, or loofahs, as a fun way to make your Easter egg decorations distinct. You can also check out super cute polyester glitter mini shapes at your local craft store like little fruits or stars that you could stick on top! You can add some clear nail polish or glue on top to make sure everything sticks. With art, there truly are no rules, and this awesome craft can help your girls get interested.
I’d love to see your Girl Scout troop’s Easter egg art, and learn how you made your own easter eggs.
Enjoy every minute being a leader and continue to inspire your girls!
Purchase this wonderful illustrated book from Amazon.


